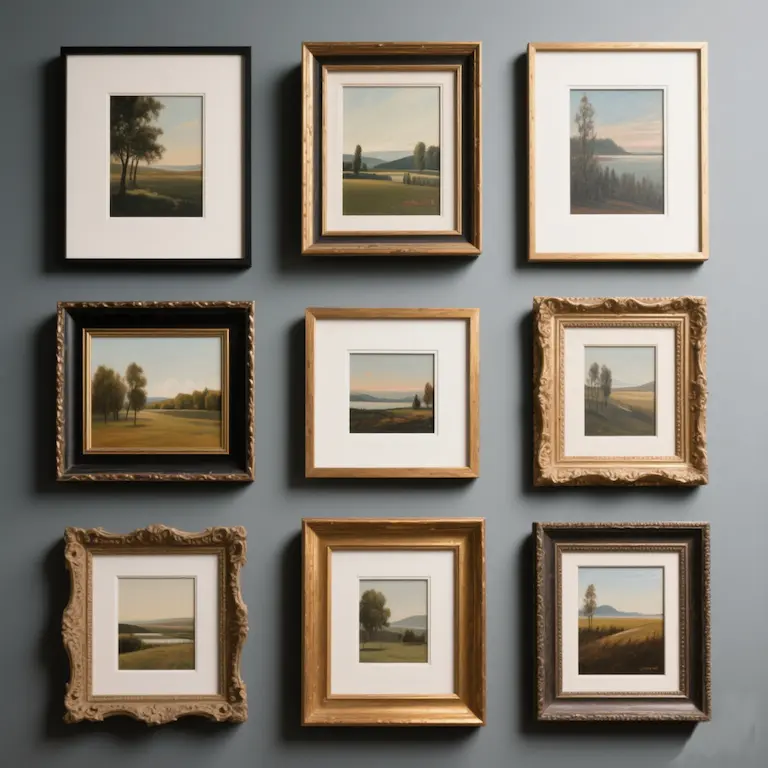
Oil paintings are precious works of art, and over time they can accumulate dust, dirt, or damage. Proper cleaning not only restores the luster of an oil painting, but also extends its life. This article will detail the entire process of oil painting cleaning, from preparation to specific cleaning methods and how to handle different situations to help you properly maintain your oil painting collection.
Preparing an Oil Painting for Cleaning
Assessing the condition of the oil painting
Before you begin cleaning, first assess the current condition of the oil painting. Observe whether the painting has any obvious damages such as cracks, flaking or mold spots. For valuable oil paintings,It is best to consult a professional restorer on how to clean oil paintings first, especially if the painting has historical or artistic value.
The evaluation process includes:
- Checking whether the frame is firm
- Observing the canvas for looseness or damage
- Identifying the type and severity of dirt or stains
- Determining if the painting is suitable for self-cleaning
Preparing cleaning tools and materials
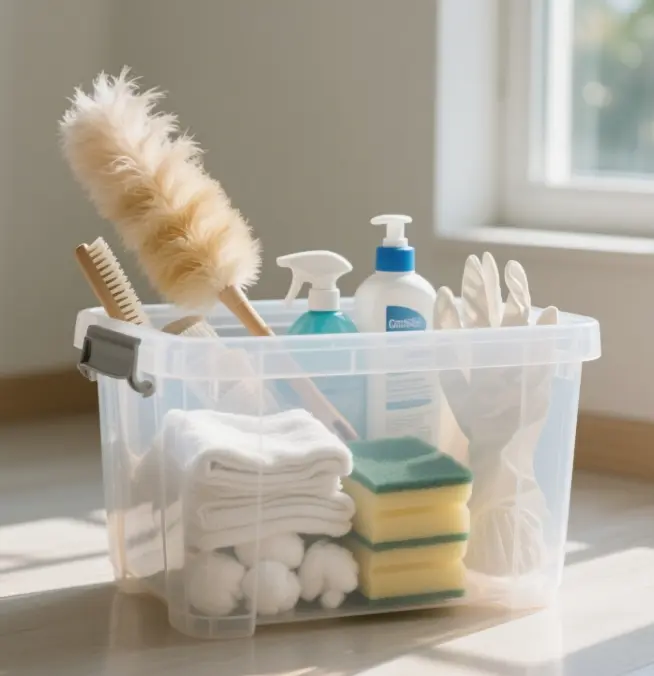
Depending on the condition of the painting and the degree of soiling, prepare the appropriate cleaning tools and materials. Basic cleaning tools include:
- Soft bristle brush or chicken feather duster: for removing surface dirt
- Clean cotton cloth or sponge: for wet wipe cleaning
- Degreased cotton balls: for dipping into cleaning agents
- Suitable cleaning agents: such as mild detergents or professional oil cleaners
- Disposable gloves: to prevent sweaty hands from contaminating the painting
Preparation of Cleaning Environment
Ensure that the cleaning environment is clean, well-ventilated, and at a suitable temperature and humidity. Avoid cleaning oil paintings in direct sunlight, and do not expose the cleaning solution on the surface of the painting to air for a long time.
Basic Oil Painting Cleaning Steps
Step 1: Remove the Frame
For most oil paintings, the painting first needs to be removed from its frame. This is to make it easier to clean the back of the canvas and to avoid damaging the frame or the decoration inside the frame during the cleaning process .
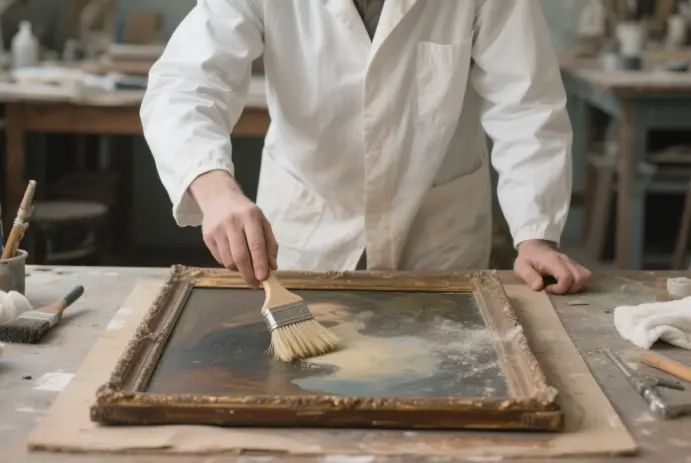
Step 2: Remove surface dust
Use a soft-bristle brush or chicken feather duster to gently sweep dust from the surface of the painting. For the back of the canvas, the dusting method is usually done by hand, using a leather air blow and a soft-bristle brush .
For dustier cases, consider using a small museum-grade, specialized vacuum cleaner to clean up the dirt, but only if you confirm that the canvas is flexible and tough .
Step 3: Test the cleaner
Before using any cleaner, it should be tested in a small corner of the painting to ensure that the cleaner will not damage the paint or the canvas .
Step 4: Clean the surface of the painting
Depending on the degree of dirt, different cleaning methods can be used:
Light Dirt:
- Use a slightly damp clean cloth to gently wipe
- For the back of the canvas, use a clean cloth or sponge block moistened and gently wiped
Moderate dirt:
- Add a small amount of detergent or mild soap to water and wipe gently with a cotton cloth or sponge.
- Dip a white cotton ball into the detergent and wipe in a circular motion from one corner of the picture.
- Do not wipe each part for too long to avoid damaging the color layer.
Heavy dirt or grease:
- Use professional oil painting cleaner, dilute it according to the product instruction and use it.
- For grease stains, add a few drops of lemon juice to warm water, moisten a cotton ball and gently pat the surface of the canvas.
Step 5: Clean the back of the canvas
Cleaning the back of the canvas is equally important, but requires more care. Use a soft-bristled brush or a sponge block to gently clean the back of the canvas, or consider using a small museum-quality vacuum cleaner if there is a lot of dust buildup and you are sure the canvas has good elasticity.
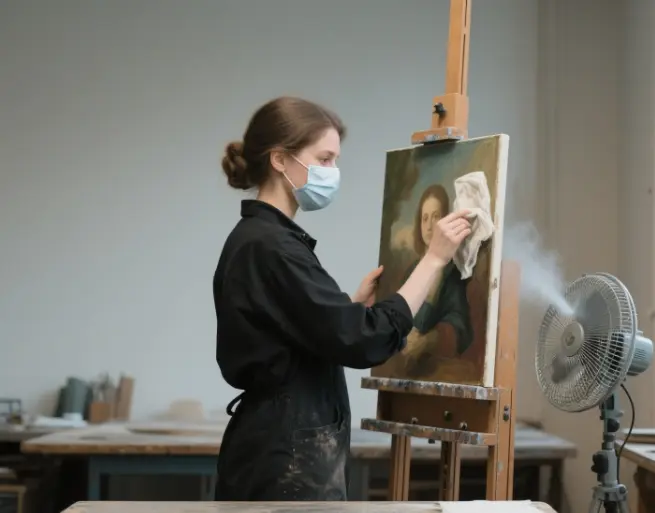
Step 6: Drying and Maintenance
After cleaning is complete, allow the oil painting to dry naturally, avoiding direct sunlight. After drying, consider using a professional varnish for maintenance, but make sure the painting is completely dry before use, and apply the varnish evenly with a clean cloth
Cleaning methods for different stains
Dust stains
For dust stains, the most scientific way to clean them is to use a brush to flick off the dust. You can purchase a small or large wolf-hair brush from an art supply store and gently brush the dust off the picture.
Soot stains
Soot stains are stubborn and can be removed in the following way:
- Drop a small amount of detergent in water, dip a cotton cloth or sponge into it and gently wipe it away
- Clean with a professional mold remover, testing the effect on an inconspicuous area first
Aged Varnish
For aging varnish on the surface of a painting, museum professionals usually use a combination of physical and chemical cleaning:
- Physical cleaning: mechanical removal of aged varnish
- Chemical cleaning: Removal of aged varnish by chemical reaction of solvents and solutes.
Mold stains
For mold stains, you need to use a special oil painting mold remover:
- Prepare a clean, soft cotton cloth and a suitable amount of mold remover.
- Make sure your hands are clean and wear disposable gloves.
- Test the mildew remover on a small corner of the painting before use.
Professional Oil Painting Cleaning Tips
Use Specialized Cleaners
For professional oil painting cleaning, a specialized oil painting cleaner is usually used. Before use, the cleaner should be shaken vigorously to ensure that the emulsion is a consistent milky color. This step should be performed each time before pouring the cleaner onto a degreasing pad.
Gentle Cleaning
Cleaning oil paintings needs to be very gentle to avoid damage to the pigment layer:
- It is not easy to wipe each part for too long
- Wipe gently with a clean cloth or sponge block.
- Avoid cleaning products with abrasive or discoloring properties.
Maintenance after cleaning
After cleaning, proper maintenance can extend the life of your oil painting:
- Spray the surface of the artwork with a professional varnish, but make sure the artwork is completely dry
- When spraying, the painting should be placed flat, wait for some time after spraying, don’t spray it to flow.
- Generally, you should spray the varnish six months after the painting is finished.

Daily care and maintenance of oil paintings
Preventing Dust Accumulation
Use a soft-bristle brush or chicken feather duster to gently sweep the surface of the painting on a regular basis to prevent dust accumulation. For oil paintings hanging on the wall, you can gently wipe them with a slightly damp, clean cloth on a regular basis.
Controlling environmental conditions
Oil paintings are very sensitive to environmental conditions:
- Avoid direct sunlight to prevent fading of pigments
- Maintain proper temperature and humidity to avoid extreme changes
- Protect from humidity to avoid mold growth
Regular inspections
Regularly check the condition of the oil painting, including:
- Checking that the frame is secure
- Observing the canvas for looseness or damage
- Checking for new dirt or damage

Identifying situations that require professional restoration
There are certain situations where an oil painting needs to be treated by a professional restorer:
- The painting has serious damage, such as extensive flaking or cracking
- The canvas is severely warped or loose
- The painting has complex restoration needs