If you’ve always been interested in oil painting, but always felt that the threshold was too high and there were too many tools to know how to start – don’t worry, this article is for you. You don’t have to be an art student, you don’t have to have great skills, as long as you’re willing to get your hands dirty and give it a try, oil painting is actually a particularly suitable painting for newbies to get started. The paint dries slowly, there’s plenty of room for modification, and the results are often stunning!
In this post we’ll talk about: how to choose materials, prepare the canvas, mixing paints, layering techniques, and some simple but very practical tips for getting started with oil painting for beginners. Just follow this order and you’ll open the door to oil painting in no time!

Why is oil painting suitable for beginners?
Plenty of room for modification
Oil painting dries slowly, which means you have time to think, make adjustments, or even just scrape it off with a palette knife and start again. This “reversibility” makes it more forgiving than watercolor or acrylic, and more suitable for practice and experimentation.
Rich colors
The colors of oil painting are thick and bright, with a strong sense of layering. Even if it’s your first time painting, you can create a very atmospheric work.
Expressive
You can use a thin layer of primer, or you can use a knife to scrape out a very thick texture. The painting style can be delicate or wild, very free.
What’s the best way to choose your starter kit? Don’t skip this list
There’s no need to buy very expensive materials at first. Buy the right basic gear and you can start practicing without spending too much money.
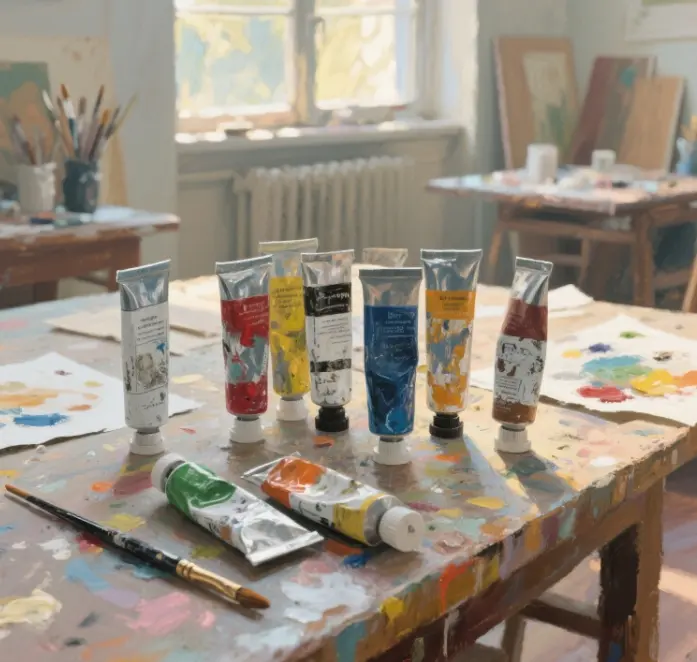
Oil paints
It is enough to start with the basic colors, and the following colors are recommended:
Titanium White, Ivory Black, Ultramarine blue, Phthalo blue, Cadmium red or vermilion, Permanent Rose, Cadmium Yellow or Lemon Yellow, Burnt Ochre, Scorched earth or raw brown
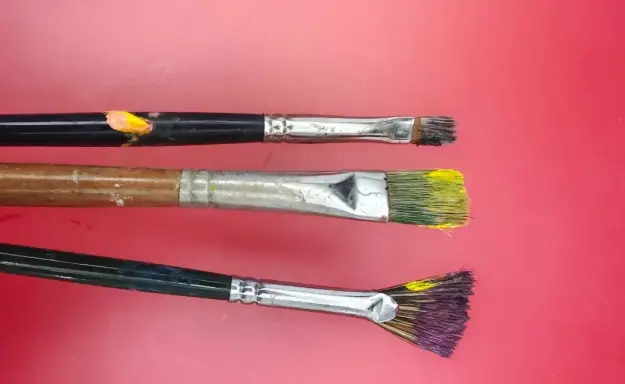
Oil Paint Brushes
You don’t have to buy the whole set, just pick a few different sizes of flat and flat-tipped brushes at first. Hog bristle brushes are strong and durable, and synthetic fibers are softer and smoother, depending on which feel you prefer.
Oil on canvas
Pre-stretched, pre-primed canvas or canvas board is most recommended. Cotton canvas is cheap and easy to find, while linen is more specialized but slightly more expensive. The texture of the canvas can be coarse or fine, so if you’re painting in detail, we recommend “fine grain”.
Medium & Thinner
The pigment is thick when squeezed out of the tube, and you will usually need to thin it out a bit. Two common methods:
- Solvent based: such as mineral spirits (like Gamsol) or low odor turpentine. Be careful not to use industrial solvents from the hardware store; they’re not good for prolonged exposure.
- Oils: such as linseed oil, walnut oil, poppy oil, etc. Oils make the pigments moister and brighter, dry slower, and are good for overlay painting.
- Blending mediums: such as Liquin, which increases fluidity, dries faster, and also improves gloss.
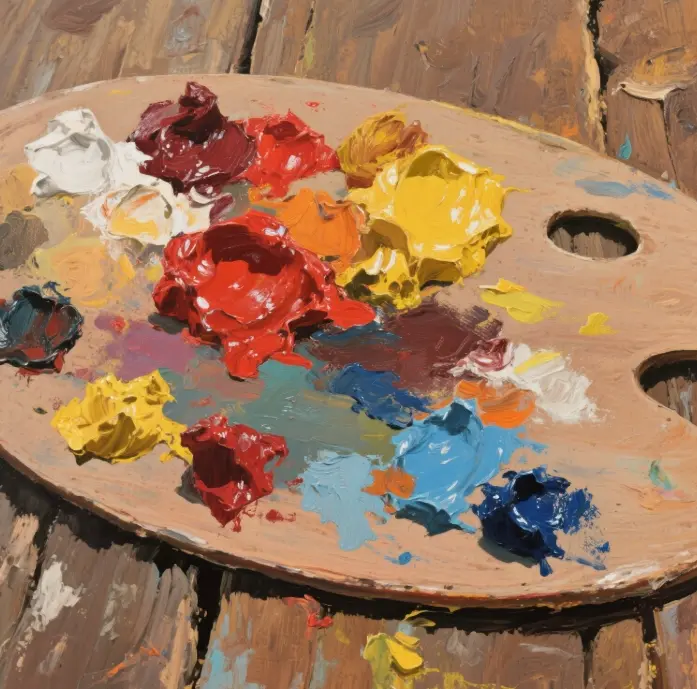
Other tools needed for oil painting
- Color palette (wood, plastic or disposable cardboard are fine)
- Palette knife (to mix colors or paint directly)
- Rag or kitchen paper (to clean brushes)
- Brush cleaning can (old canning jars work well)
The right way to use a canvas
The right way to use a canvas
Purchased canvases are usually coated with an acrylic primer so you can start painting straight away. If you apply it yourself, you can apply two to three coats of acrylic gesso, and when it dries, lightly sand it with sandpaper for a smoother feel.
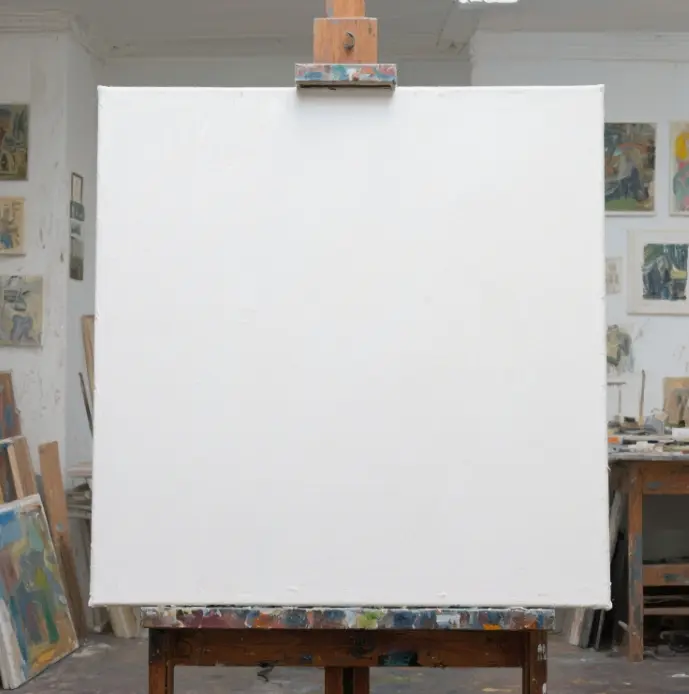
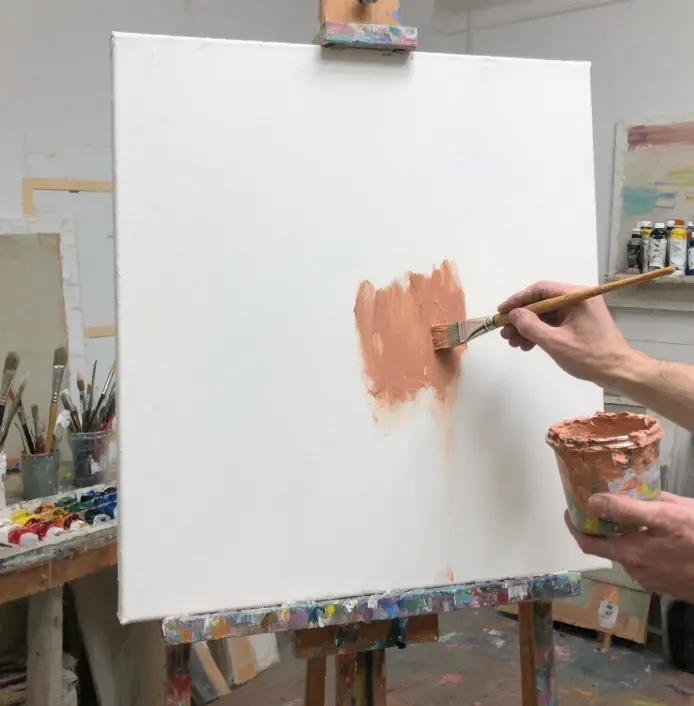
Priming the canvas base color
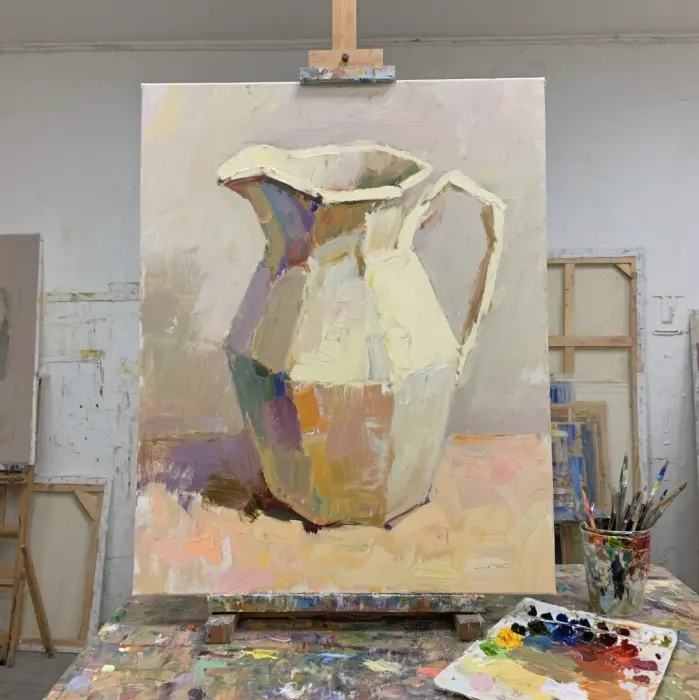
Don’t start painting directly on a white canvas, too bright will affect your ability to judge the color. It is recommended to apply a layer of neutral tones first, such as light brown or grayish purple, and then paint after it dries.
Several ways of painting oils: pick your favorite rhythm
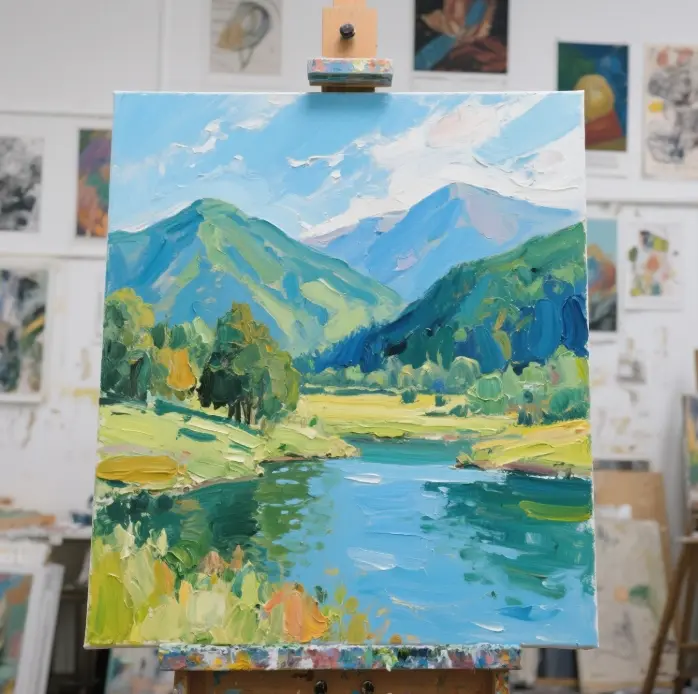
One of the techniques of painting oil painting wet (Alla Prima)
Paint in one go, don’t wait for it to dry, one breath at a time. Good for quick practice, catching the atmosphere and practicing your hand. It can be done in a quick sketch style or handled with great detail.
Painting Oil Painting Technique No. 2 Layering (drying in stages)
This is more like the traditional way, where each layer dries before painting the next. The advantage is that you can take your time sculpting the details and still keep the image neat.
Recommended steps:
- Paint the background color
- Make shapes (you can sketch with pencil, charcoal or diluted paint)
- Build up the base color layer (e.g. ochre grey tone to lay down the light and shadow first)
- Add color, light and texture layer by layer
- The last layer to strengthen the thick paint, detail highlighting
Before the serious opening of the painting: a few tips that the novice must know
“Fat over thin”, you must remember!
This oil painting in the “iron law”, meaning:
The further back the layer is painted, the more oil there is and the slower it dries.
Otherwise, what will happen? The picture will crack! It’s like dried mud, the surface is dry but the bottom is still damp, once pulled, it will crack.
So:
- Add some solvent to the first layer. Thin it out.
- Then layer by layer, a little more oil each time.
- Thick, heavy, moist for the last
“Thin coat for foundation → thick coat for highlighting.”
Don’t just squeeze a bunch of paint on.
First use a thinner pigment to build a base, lay a general tone, and when you have finished laying out the contours and large structures, then strengthen the details in the local, thicken and brighten. That way the layers come out.

What to do with the base layer?
There are different ways you can lay down a “base layer”:
Grisaille
Start with black and white or cool gray to create the relationship between light and dark. This is good for detailed, structured drawings.
Color Sketch Priming
Outline with diluted colors to set the composition first, and then slowly overlay the colors subsequently.
Closed Grisaille (Closed Grisaille)
Drawing a complete black and white layer first, and then overlaying the colors after it dries, can retain a very stable structure.
How to mix colors without making mistakes?
Mixing colors is not difficult, but there are a few pits not to step on:
- Don’t squeeze too much pigment at once, it will be dry and wasteful.
- Color arrangement from cold to warm, this color mixing more intuitive
- Cover the palette with plastic wrap to prolong the life of the paint.
- Oil painting dries slowly, can be mixed in stages, while painting and replenishment
Brushes and coloring techniques
Brush choice: Hog bristle brushes are good for dry brushing and laying down large blocks of color, synthetic fibers are better for details. Remember to wash your brushes often or the bristles will clump together.
Palette knife: not just mixing pigments, but also can be directly on the color, especially suitable for thick painting style, can scrape out a very nice texture.
Silicone tools: newbies can try silicone brushes for flattening or creating interesting textures, quite fun.
Don’t rush this varnish thing.
Oil paintings can take months or even a year to dry. Traditional varnishes are applied when the painting is completely dry. However, there are fast-drying varnishes (like Gamvar) that allow the painting to be applied months in advance. The effect is:
- Increase color saturation
- Protect the image from dust
- prevent oxidization and discoloration
You don’t need expensive equipment or to be gifted. All you need is a brush, a bit of paint, and the mood to try. Every oil painting enthusiast starts with the first brush.
Now, get your canvas, paints and palette knife ready and start your oil painting journey today.